How to Paint a Metal Door to Look Like Wood
After posting this photo of our metal front door on Instagram, so many questions have rolled in. In this post, I will show you how to paint a metal door to look like wood. There is a trick when using stain to make this work.
Disclosure: As an Amazon affiliate, I earn from qualifying purchases at no extra cost to you. My blog contains other affiliate links as well for your convenience. To learn more, you may read my Disclosure Policy. Thank you for supporting my blog!
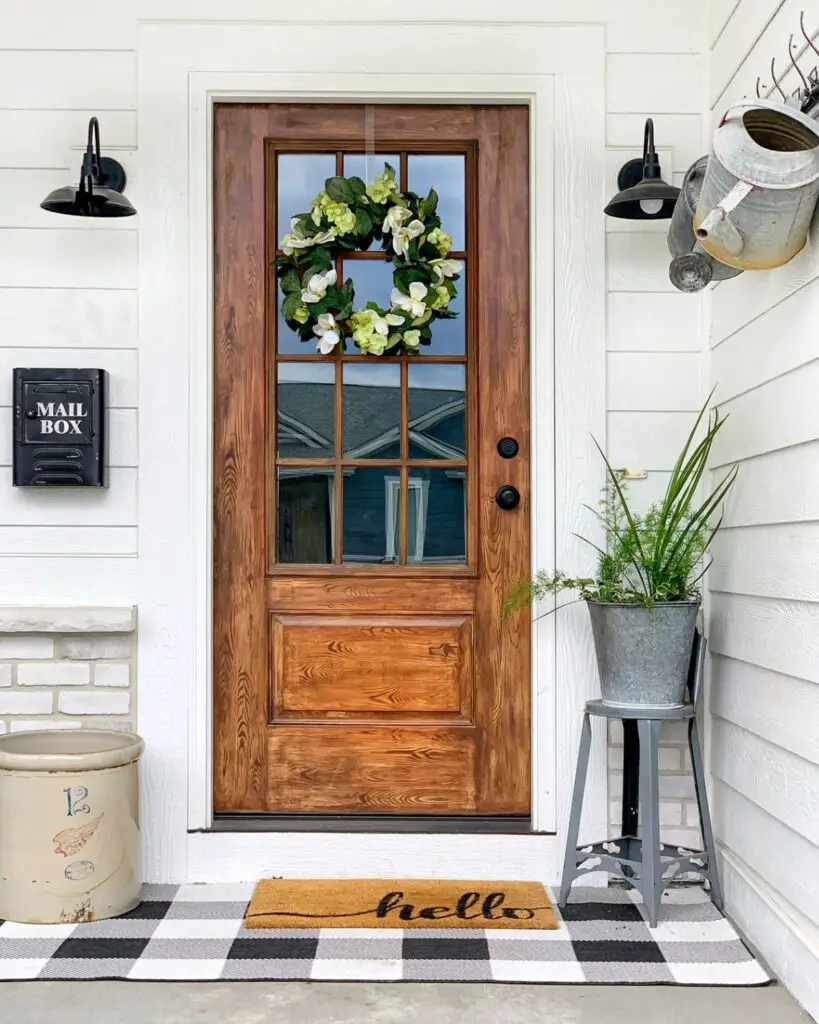
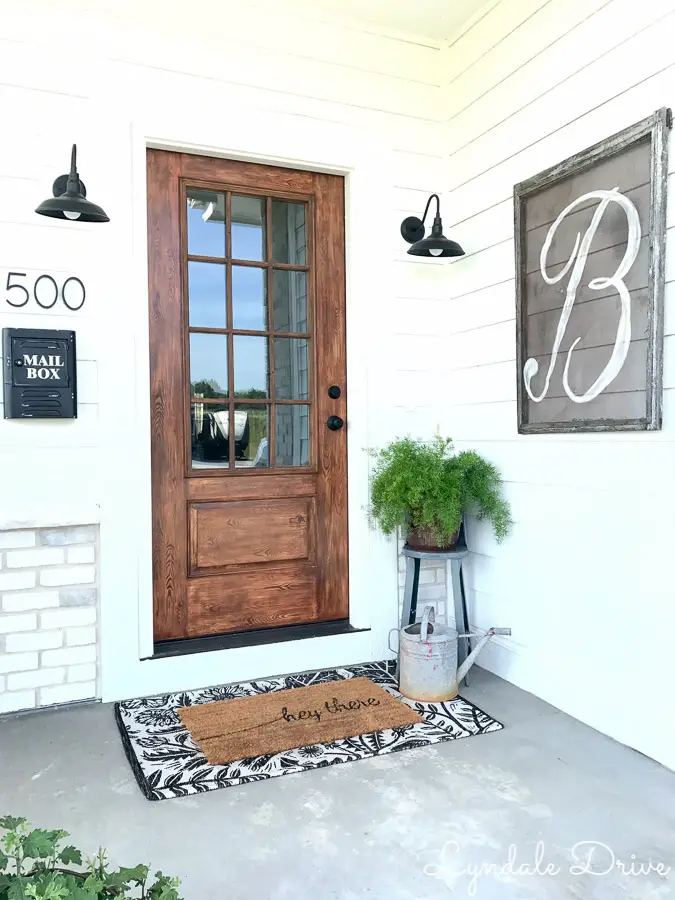
We have been in the new house for about 2 months now and I feel somewhat organized and settled. To the point that I think I will finally start blogging on a more regular basis. I have so much to share with you. From the building process and all the projects we worked on along the way.
Choosing a front door was easy for me. I had searched Pinterest and saved so many inspiration photos, that I knew exactly what I wanted. Our building budget was starting to bulge at the seams and a wooden door was out of the question. Our builder installed a metal door I would paint a door to look like wood. Seemed simple enough to me!
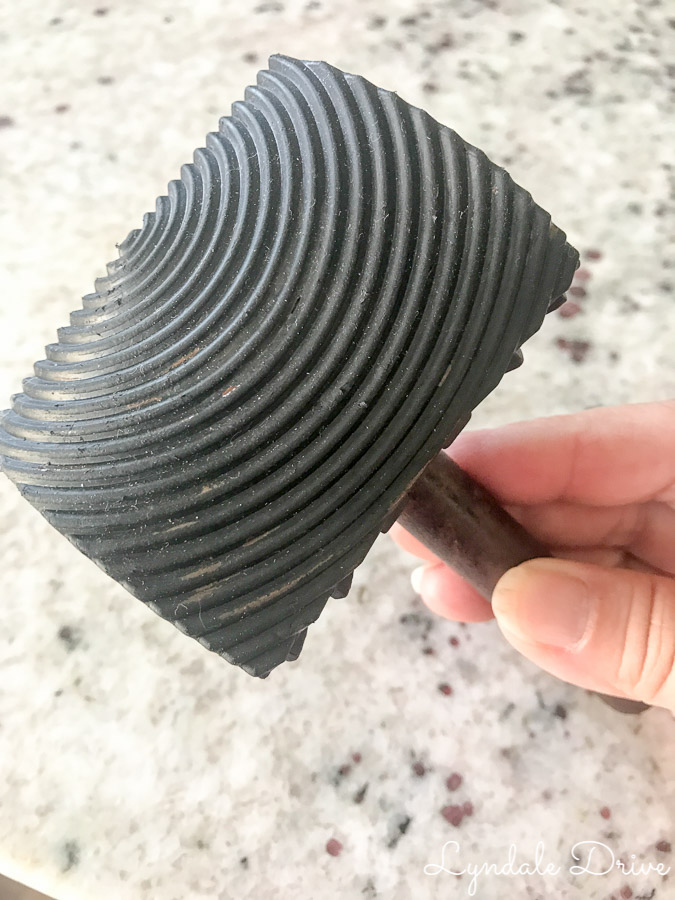
I started by googling the idea and came up with several videos where a wood graining tool was used along with Zar Wood Stain. The video shows applying a coat of stain to the door and using the wood grain tool to create the look of, well wood grain. (this is the tool I used)
I followed all of the directions from the videos and applied the first coat of stain. I used the stain I had on hand because it matched our fireplace mantel and island. After mastering the wood grain technique, I let the first coat dry as suggested.
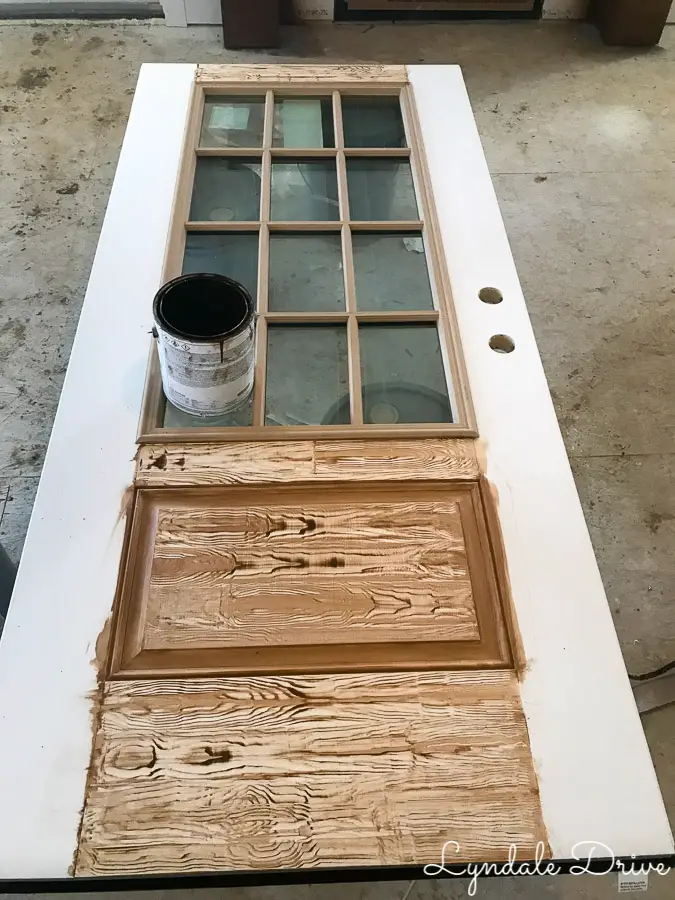
The second step seemed to be the easiest of all. Apply a second coat of stain, wipe it on with a cloth, let dry, seal and you are done!!! WRONG! In both videos I watched, Zar Wood Stain was used. Who would have thought you HAVE to use Zar wood stain to make this work? (THIS IS NOT A SPONSORED POST BY THE WAY) Please learn from my mistakes.
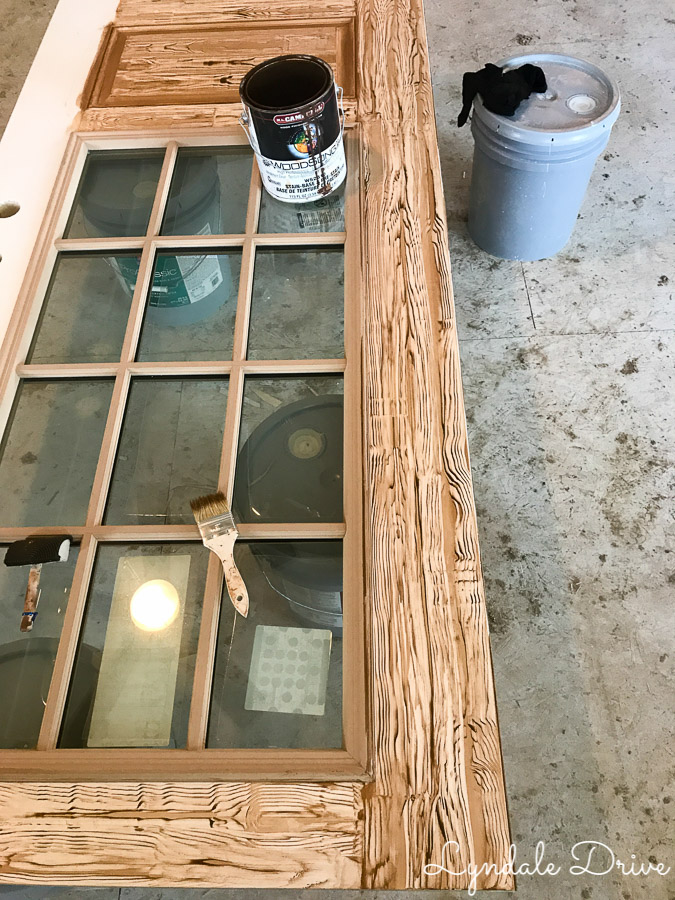
Can you guess what happened when I applied my second coat of stain? If you guessed, “the wood grain wiped off” you are right!! All that work was gone with one swipe of my rag! I may have swore a little at this point! So learn this lesson from me, if you try this technique, which is really pretty simple, use Zar Wood Stain!!!
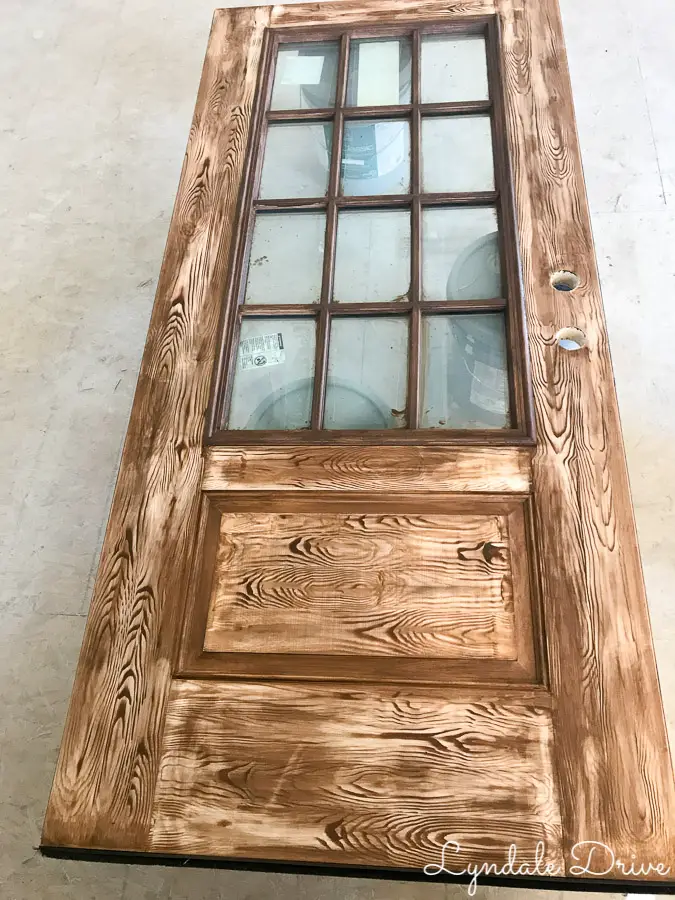
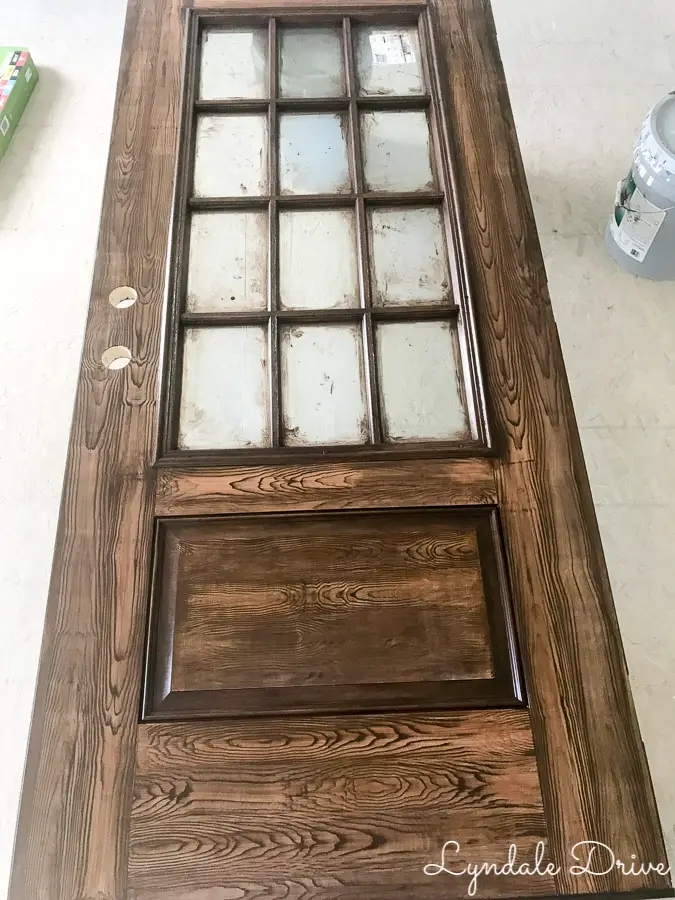
It is hard to see in the picture above. This is not what the second coat should have looked like! After I realized the second coat of stain was wiping off my wood grain, I had to be very careful. Problem, it wasn’t wiping all of it off and I wasn’t sure how I was going to re-create the grain. I didn’t know if I could paint the door white again, probably could have. However, I would rather give myself an anxiety attack and push through this mess!
Quickly I ran out and bought several shades of ZAR Wood Stain. Not knowing what color would match the mess I had already started. After applying several additional coats of stain to obtain the color I wanted. I finally stopped before I made it worse and was somewhat happy with the look!
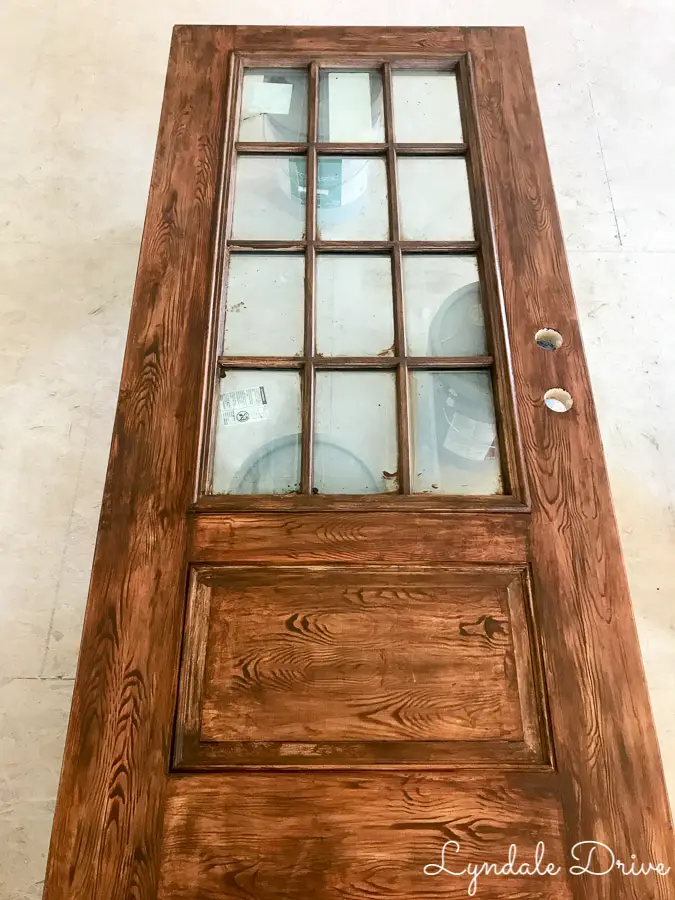
These pictures are not the best. Working in the middle of a construction zone made it difficult to capture a good shot.
Now to show you how simple the process is when you use Zar Wood Stain from the start:
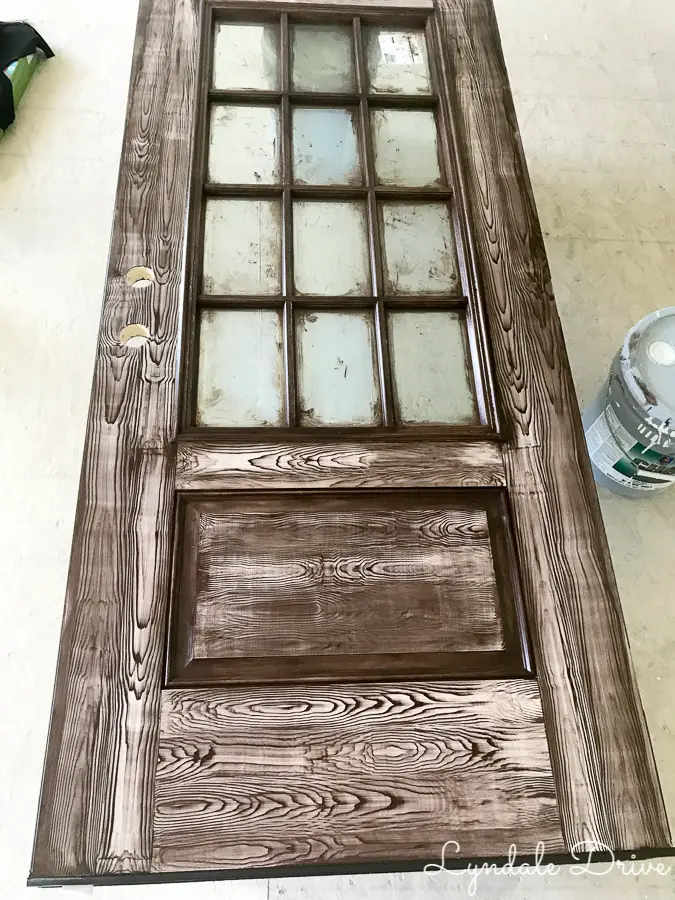
Step 1- Apply first coat of ZAR Stain and use wood graining tool, let dry.
Step 2 – Apply second coat of stain. Simply wipe it over the first layer with a clean rag, let dry.
When I applied the Zar Wood Stain, the process in the video worked just as they said it would! So for my door, both sides look just a little different. However, until I just told you this, I don’t think you would even notice.
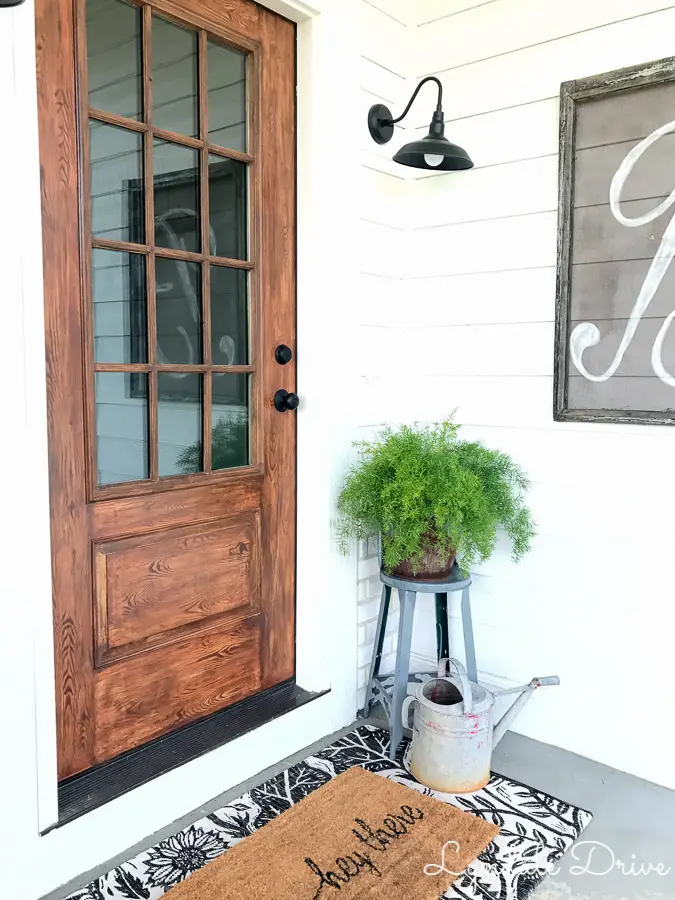
Making this house a home, One DIY project at a time. Or should I say, one mess at a time! Let me know what you think by dropping me a comment below!
You may also enjoy these related articles:
Did you enjoy this article? Want to hear more? Stay in touch! Sign up below to receive design tips and tricks for your home.

Let’s Be Friends
Join the Lyndale Drive Community!
Sign up to receive all the latest blog details, tips & tricks and a whole lot of fun!

One Comment
Comments are closed.